

When I was younger my mom found some beautiful vintage embroidered cards somewhere and I loved them! The color and texture of the cards was so unique. I love making cards and have since I was very young. However spending lots of time using stamps and lots of different papers doesn’t work so well for me anymore. I found my self dreaming up different ideas for a vintage style embroidered card the other day and decided to make some. I love them!
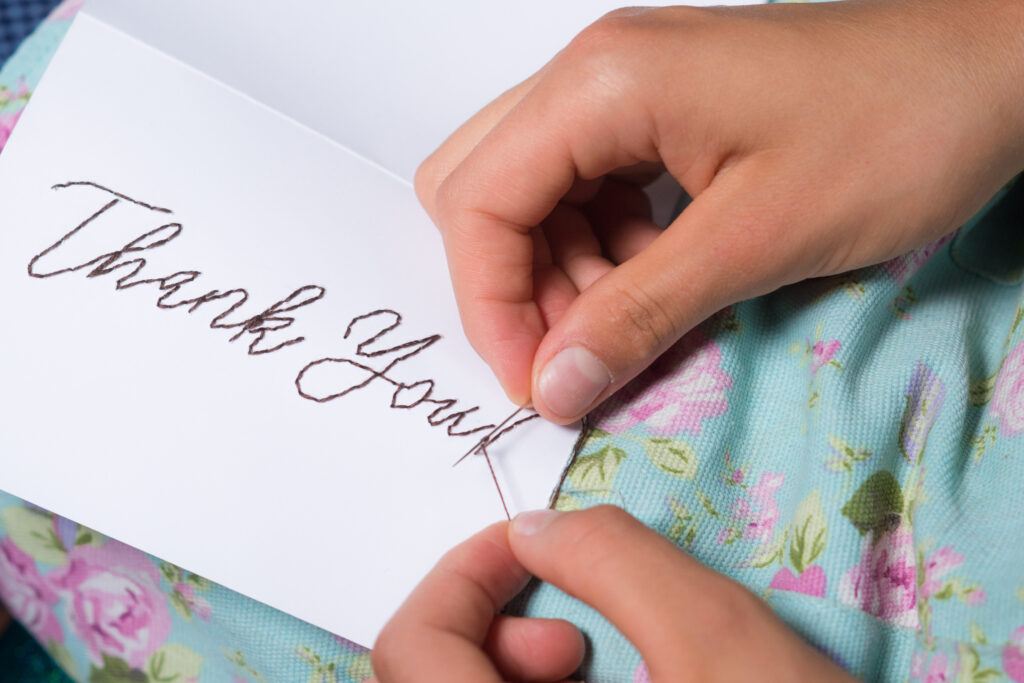
These vintage style embroidered cards can be as ornate or as simple as you want them to be. My favorite is the one with the flowers. These cards show that you care about the person you are sending them to.
Are They Difficult To Make?
No, they are not. As long as you know or learn the most basic embroidery stiches you can make stunning cards. Even the simple hand sewing stich can make a beautiful and simple card.
How Long Does It Take To Make An Embroidered Card?
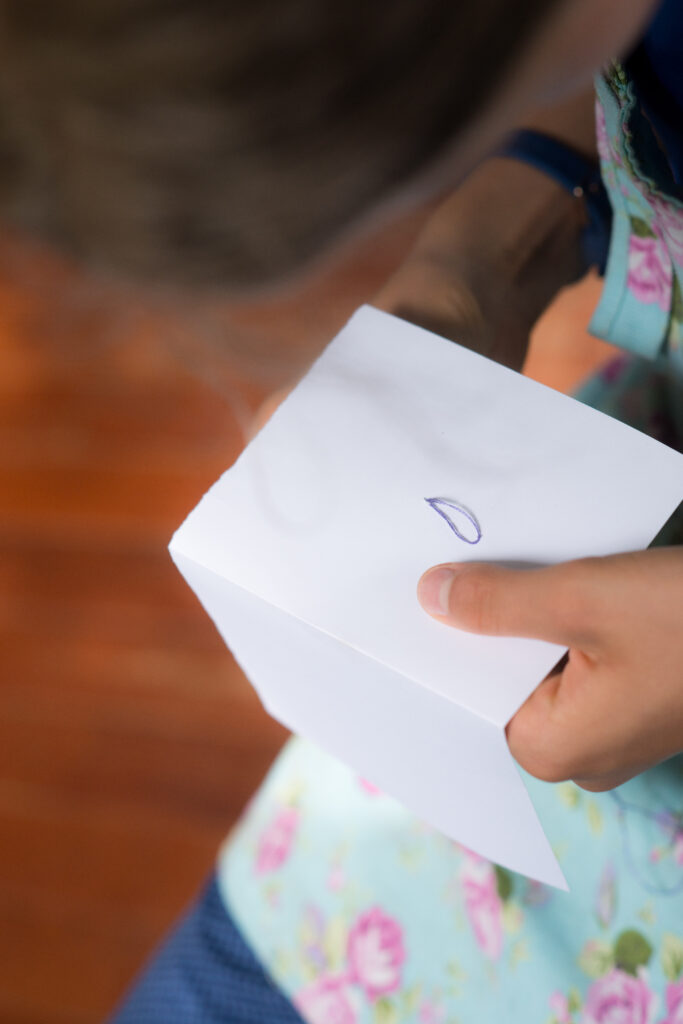
It depends. If you want to make something really simple such as a heart or egg shape it should go really fast, 5-10 minutes. If you want to make a really complicated floral bouquet it could take hours or even a weekend.
What Supplies Do I Need?
You will need an embroidery needle, embroidery thread, blank cards or card stock and an idea.
What Pattern Do I Use for My Embroidered Card?
You can either free hand draw a design on the card, free hand embroidery on the card or print out a design and follow that. The floral design on the brown card I drew the stems on the paper with a pencil and free handed the embroidery of the flower heads.
You can make your own pattern on a design site such as Canva and print it out.
How To Embroider The Back Stitch
To do the back stitch come up in front of where you want to start the line of stiches, then stich backwards. For the next stitch come up in front of your first stitch and down through your first hole. Repeat to complete the line of stiches.
How To Make a French Knot
A French knot may be my favorite embroidery stitch! To make one come up through the fabric or paper in the desired spot. Wrap the embroidery thread around the needle three times and then go back down through the same hole. Pull on the thread a little bit while going back down through the paper or it will come off the needle.
How To Make the Lazy Daisy Stitch
Choose where the middle of the flower will be. Come up in the center of the flower and then go back down through the same hole. Do not pull it all of the way back through! Come up again where you want the pedal to end and pull the needle through the loop. Go back down through the same hole you came up to tack down the edge of the pedal.
How To Make a Vintage Style Embroidered Card Step 1.
Decide if you are using a blank greeting card or using card stock
How To Make a Vintage Style Embroidered Card Step 2.
Pick your design or lack thereof. If you are printing a design print it out on the heaviest card stock that you have. If you drawing your design it might be a good idea to practice on another piece of paper. When you do draw it on the card be sure to use a pencil so that you can erase your mistakes and if you mess up the design some it won’t show.
How To Make a Vintage Style Embroidered Card Step 3.
Decide what stiches you want to use to complete your design. Some examples of basic stiches are up above. Decide your colors to use in your design. The sky is the limit when it comes to colors. I personally prefer simple color schemes but use whatever colors make you happy.
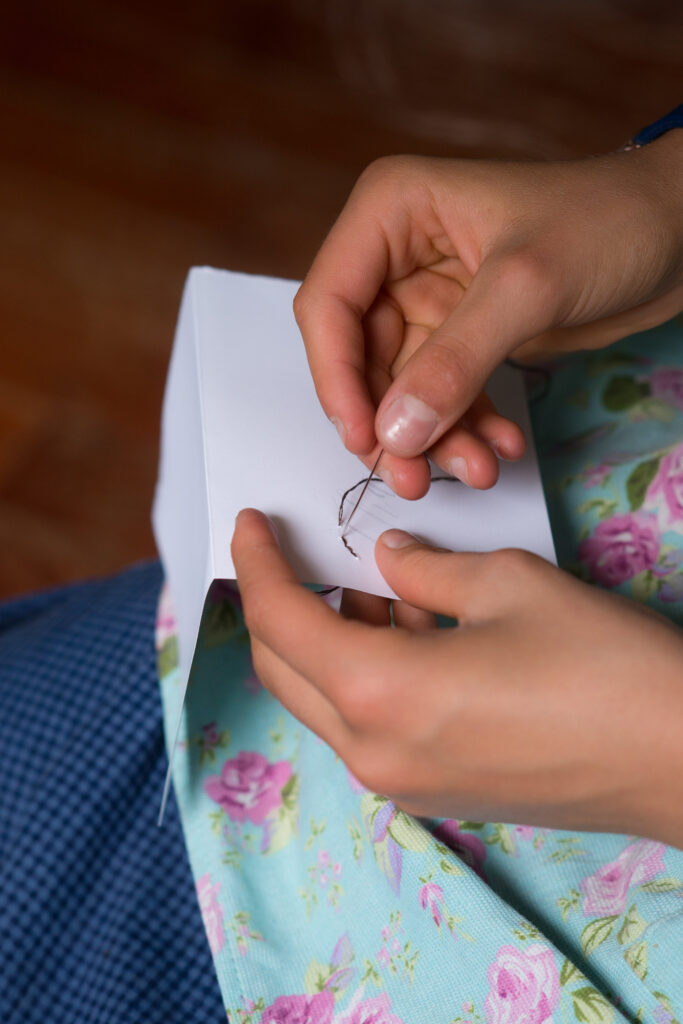
How To Make a Vintage Style Embroidered Card Step 4.
Embroider it! Take your time so that is neat on the inside. Make sure to not pull to tight on your thread or you can tear your paper. It can be difficult to get your needle to come up where you want it but if you poke carefully you can see where your needle will come up though. It will make a small bump and you can move the needle if necessary. If you make a mistake try not to worry, this is homemade it is not supposed to look perfect like a machine did it.

How To Make a Vintage Style Embroidered Card Step 5.
Trim your threads. If your inside is particularly messy you can put a piece of onion skin paper on the inside of the card. The perk of this is trifold. One it covers your mess. Two you can write on the onion skin paper first so if you make a mistake in the writing you can start over. Thirdly it adds an other layer to your card making it look even more impressive.
How To Make a Vintage Style Embroidered Card Step 6.
Write a thoughtful letter expressing your thoughts and feelings. This part can be the hardest part and I don’t have any great words of wisdom. My only tip is to not be afraid to be seen trying. If your card comes across awkward than at least you tried, and the person will know that you care.
Enjoy you one of a kind embroidered card!
Leave a Reply